
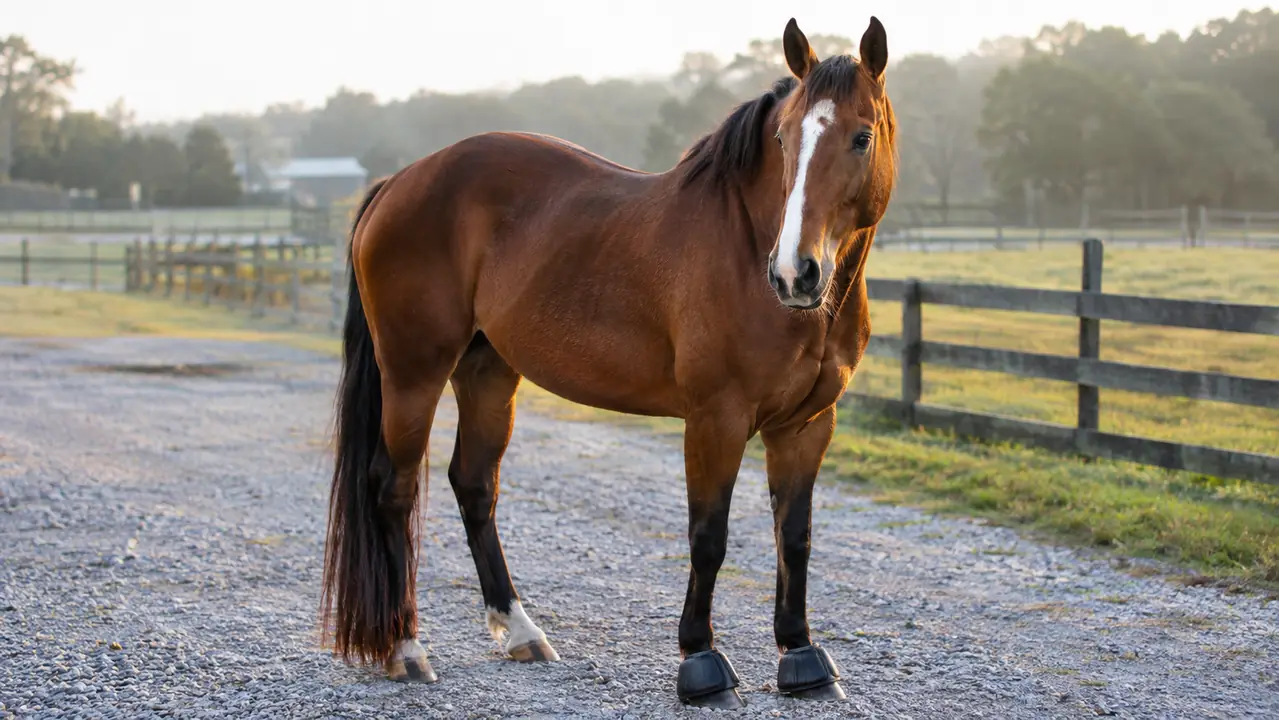
The first time I saw a horse tear a chunk out of his own heel, I was standing at the rail of a jackpot in Stephenville. The horse came out of a hard turn, grabbed his front heel with the toe of his hind foot, and came up lame before the timer even stopped. The owner walked him off, and you could see the blood before they got the boot off. That is an overreach injury. It happens fast, it happens to good horses, and most of the time it is preventable with a pair of bell boots that fit.
I have wrapped legs and pulled boots for more years than I care to count, and I keep a set of Shires ARMA Over Reach Horse Bell Boots on my main horse, Biscuit, for every run that involves a hard stop or a tight turn. This guide is the practical version of what I have learned: what overreach actually is, how to fit a bell boot so it stays put, and how to keep the boots themselves from causing the very problem you are trying to prevent.
Stop Overreach Before It Stops Your Run
A good pair of bell boots is cheap insurance against a pulled shoe, a torn heel, or a month on the sidelines. The Shires ARMA pair is the one I reach for first.
Amazon Check Today's Price on Amazon →Step 1: Understand What Overreach Actually Does
Overreach is what happens when the toe of a hind foot reaches forward and strikes the heel or bulb of the front foot on the same side. It is most common in horses that work hard off their hind end: barrel horses, roping horses, jumpers, and young horses still learning to balance. The hind foot can catch the front heel, the coronary band, or the back of the pastern, and it can also pull a front shoe clean off.
The damage ranges from a scuff that grows out in a few weeks to a deep cut that needs stitches and stall rest. A horse that overreaches once often does it again, because the scar tissue changes the way the heel lands. That is why I treat bell boots as standard equipment, not as something for horses that already have a problem.
I saw the worst case at a roping in Abilene about five years back. A heel horse came out of the box, grabbed his own front heel on the second jump, and the cut was deep enough that the vet sewed it up on the spot. The owner told me later the horse was out for six weeks and never came back the same. That horse was wearing bell boots, but they were the wrong size, sitting up too high to cover the heel. The boot was there. The coverage was not. That is the part people miss.
The Shires ARMA boot is built for exactly this job. It is a bell shaped boot that fits over the hoof and sits low enough to cover the heel and coronary band, with a thick rubber shell that takes the impact instead of the leg. The fit is what makes it work, and that is the rest of this guide.
Step 2: Measure and Fit the Boot to the Hoof
Bell boots only work when they fit. A boot that is too big spins around and can rub the pastern raw. A boot that is too small sits up too high, leaves the heel exposed, and can put pressure on the coronary band. I have seen both, and neither is the boot's fault.
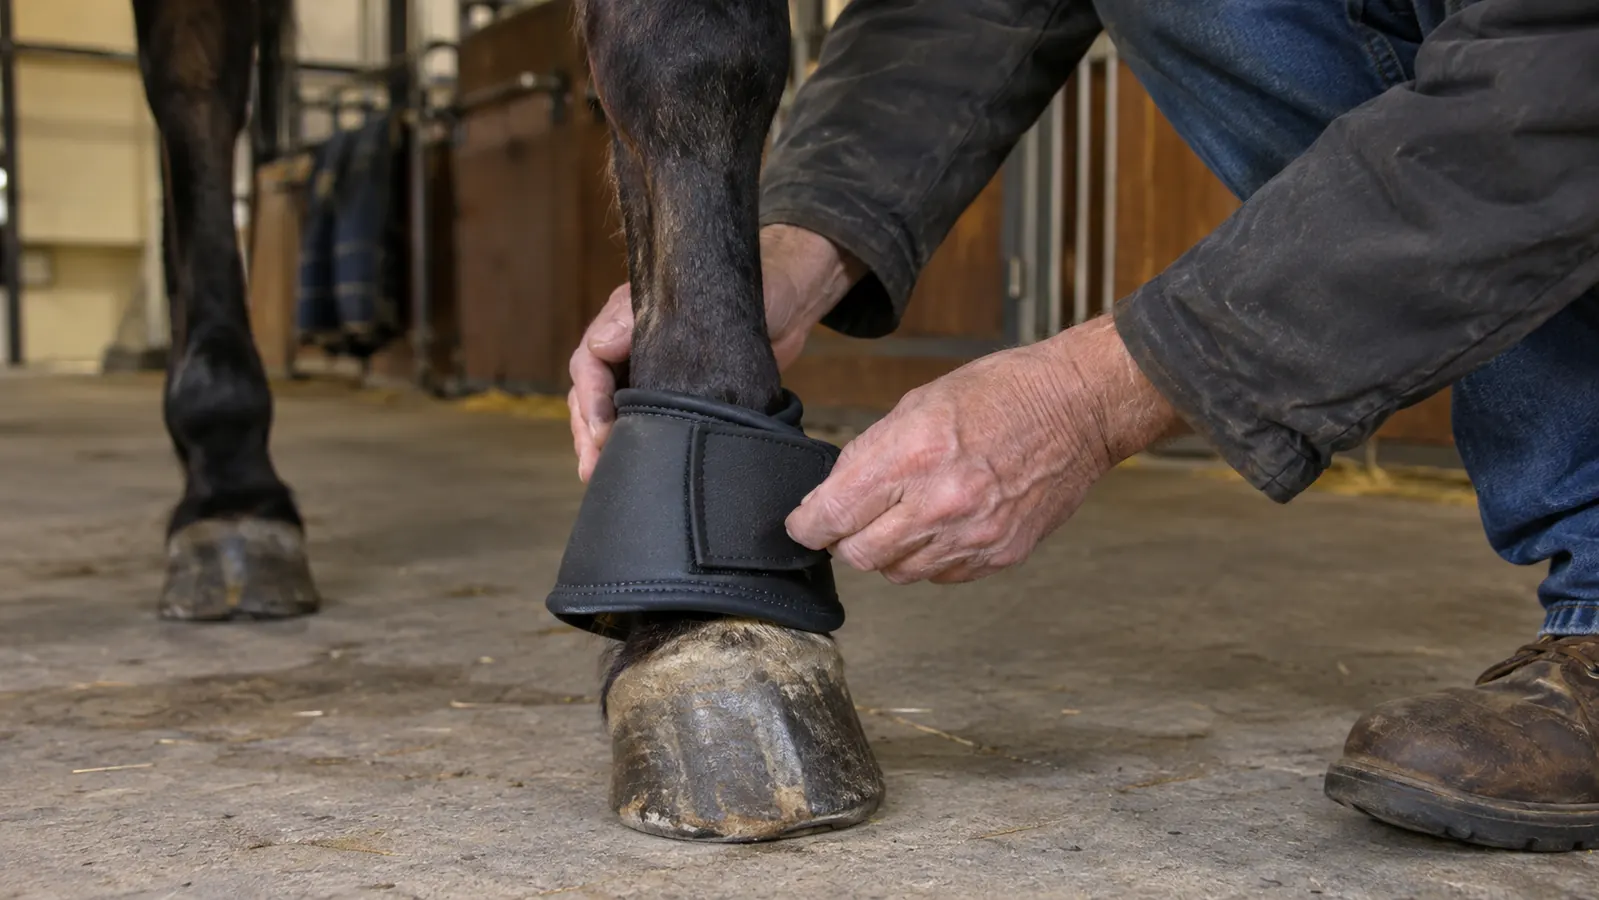
The Shires ARMA boots come in sizes that track with hoof width and horse size. The honest way to fit them is to measure the widest part of the hoof, then choose the size that lets the boot sit about an inch below the bulb of the heel. The boot should cover the heel completely when the foot is on the ground, and it should not pinch when the horse bears weight.
Biscuit wears a size that matches his front feet, which run a little wide for a quarter horse. I measured him with a soft tape the first time, wrote the number down, and checked it against the sizing chart before I ordered. When the boots arrived, I tried one on in the barn aisle before I ever took them to a jackpot. He stood on three legs while I worked the boot over the toe, and I flexed his leg forward to make sure the back of the boot did not dig into the pastern when he moved.
When you put the boot on, the opening should be snug around the pastern without squeezing. You should be able to get one finger between the boot and the leg. If you have to fight to get the boot over the heel, go up a size. If the boot slides down and covers the whole hoof, go down a size. It takes two minutes to check, and it saves you from finding out the hard way on the first run.
Step 3: Secure the Boot So It Stays Put
The Shires ARMA boots use a hook and loop closure that wraps around the pastern. The trick is to pull the strap snug, but not tight enough to leave a crease in the skin. I fasten mine so the boot does not rotate when I twist it by hand, then I flex the horse's leg once or twice to make sure nothing binds at the joint.
Check the closure before every ride, not just when you tack up. A boot that worked fine in the stall can work its way loose in the trailer or during the warmup. I make it part of the same routine as checking the cinch: one quick look at each front leg before I step into the stirrup.
I learned that lesson at a jackpot in Glen Rose two summers ago. I had tacked up in a hurry, skipped the leg check, and Biscuit came out of the first barrel with the right boot spun halfway around. He did not get hurt, but I pulled him up, fixed the boot, and lost the run. The boot had been fine when I put it on. Ten minutes of warmup and a hard turn was all it took to move it. Now I check both front legs every single time, right after I tighten the cinch, and I have not had a boot spin on me since.
One thing I have learned the hard way: do not leave bell boots on for days at a time. They are work boots, not turnout boots. If a horse wears them 24/7, the trapped heat and moisture can soften the heel and make the skin more likely to tear. Put them on for the ride, take them off after the cooldown, and let the legs breathe.
Step 4: Use the Right Boot for the Job
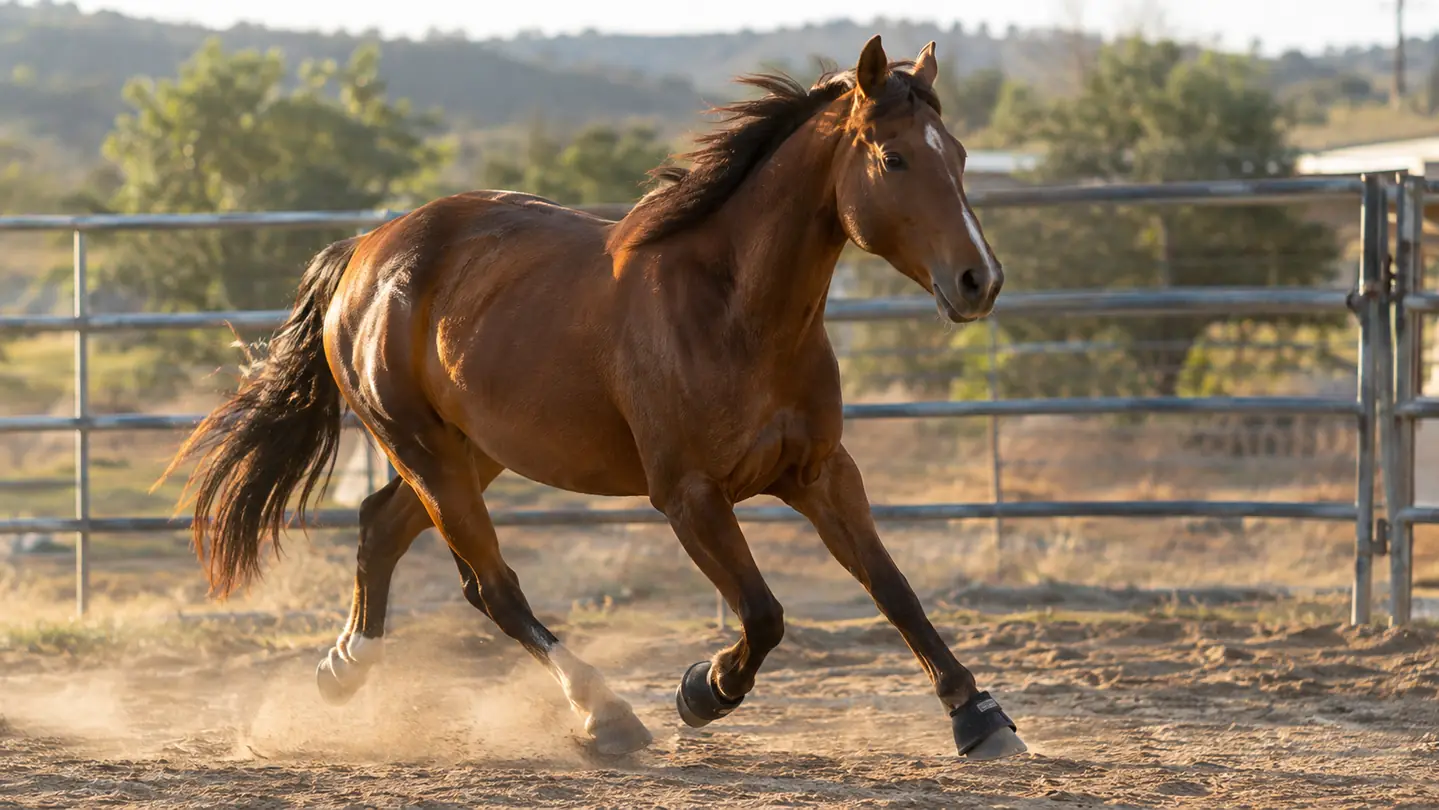
There are two main styles of bell boot: the pull-on rubber boot and the strap closure boot. The pull-on style is what most people picture when they hear the word bell boot. It is simple, it stays on well, and it is a fine choice for a horse that does not need a lot of adjustment. The strap style, which is what the Shires ARMA boot is, gives you a more precise fit and is easier to put on and take off, especially on a horse that is sensitive about his legs.
I use the Shires ARMA boots on Biscuit because he works hard off his hind end and I want the coverage low and secure. The strap lets me set the height exactly where I want it, and the rubber shell is thick enough to take a real hit. For a horse that only needs protection on the trailer or in light turnout, a simpler boot might be plenty. Match the boot to the job and you will not be fighting the equipment.
I keep a second pair of plain pull-on boots hanging in the tack room for the other two horses when they go in the trailer. Those two do not run barrels, so they do not need the same level of protection. They just need something to keep a hind toe from catching a front heel while they brace in the trailer. The pull-ons go on in two seconds and they stay put for a two-hour haul. Different job, different boot, and nobody fights me at the trailer door.
Step 5: Check, Clean, and Replace Before They Wear Out
Bell boots take a beating. That is their job. But a boot that is cracked, split, or worn thin at the heel is not protecting anything. I check mine every time I pull them off: run a thumb around the inside of the bell, look for cracks in the rubber, and make sure the strap still grabs cleanly.
I rinse mine with a hose when they get caked with mud or arena sand, and I let them dry out of the sun. Sun is what kills rubber. A boot that lives in the back of a truck bed all summer will be brittle by fall. I keep mine in a mesh bag in the tack room, and I replace them when the rubber starts to feel stiff or the bell starts to crack.
The pair I have now has been on Biscuit for a full season of weekend jackpots, plus hauling to a few bigger runs in Texas and Oklahoma. They have been through mud, sand, and a stretch of dry weather where the practice pen turned to concrete. The rubber is still supple and the straps still grab. I check them the same way I check my cinch and my latigo: before every ride, not just when something feels wrong.
A good pair of bell boots should last a season of weekend runs, sometimes two. The Shires ARMA pair has held up through a full year of jackpots, hauling, and the occasional muddy practice pen. When they finally wear out, I will buy the same pair again, because I know exactly how they fit and how they hold up.
What Else Helps
Bell boots are the main line of defense, but they work better when the rest of the leg is sound. Keep the feet trimmed on a regular schedule, because a horse that is off balance is more likely to overreach. Watch the footing: a deep, slick arena makes a horse work harder to recover, and that is when the hind toe comes forward. And if your horse overreaches often, have a vet or a farrier watch him move. Sometimes the fix is a small trim change, not a bigger boot.
I have also started paying more attention to how Biscuit is shod. A few years ago, my farrier suggested a slight roll on the toe of the hind shoes to help them release sooner. It is a small change, but it made a difference in how often he felt heavy on his front end in the turn. Bell boots are not a substitute for good hoof care. They are the backup plan that keeps a small mistake from becoming a long layup.
A boot that is too big spins and rubs. A boot that is too small leaves the heel exposed. The two minutes it takes to fit them right is the cheapest insurance you will ever buy.
Fit a Pair Before Your Next Run
Overreach injuries are fast, ugly, and mostly preventable. A well-fitted pair of Shires ARMA bell boots is a small price for keeping your horse sound and your season on track.
Amazon Check Today's Price on Amazon →