
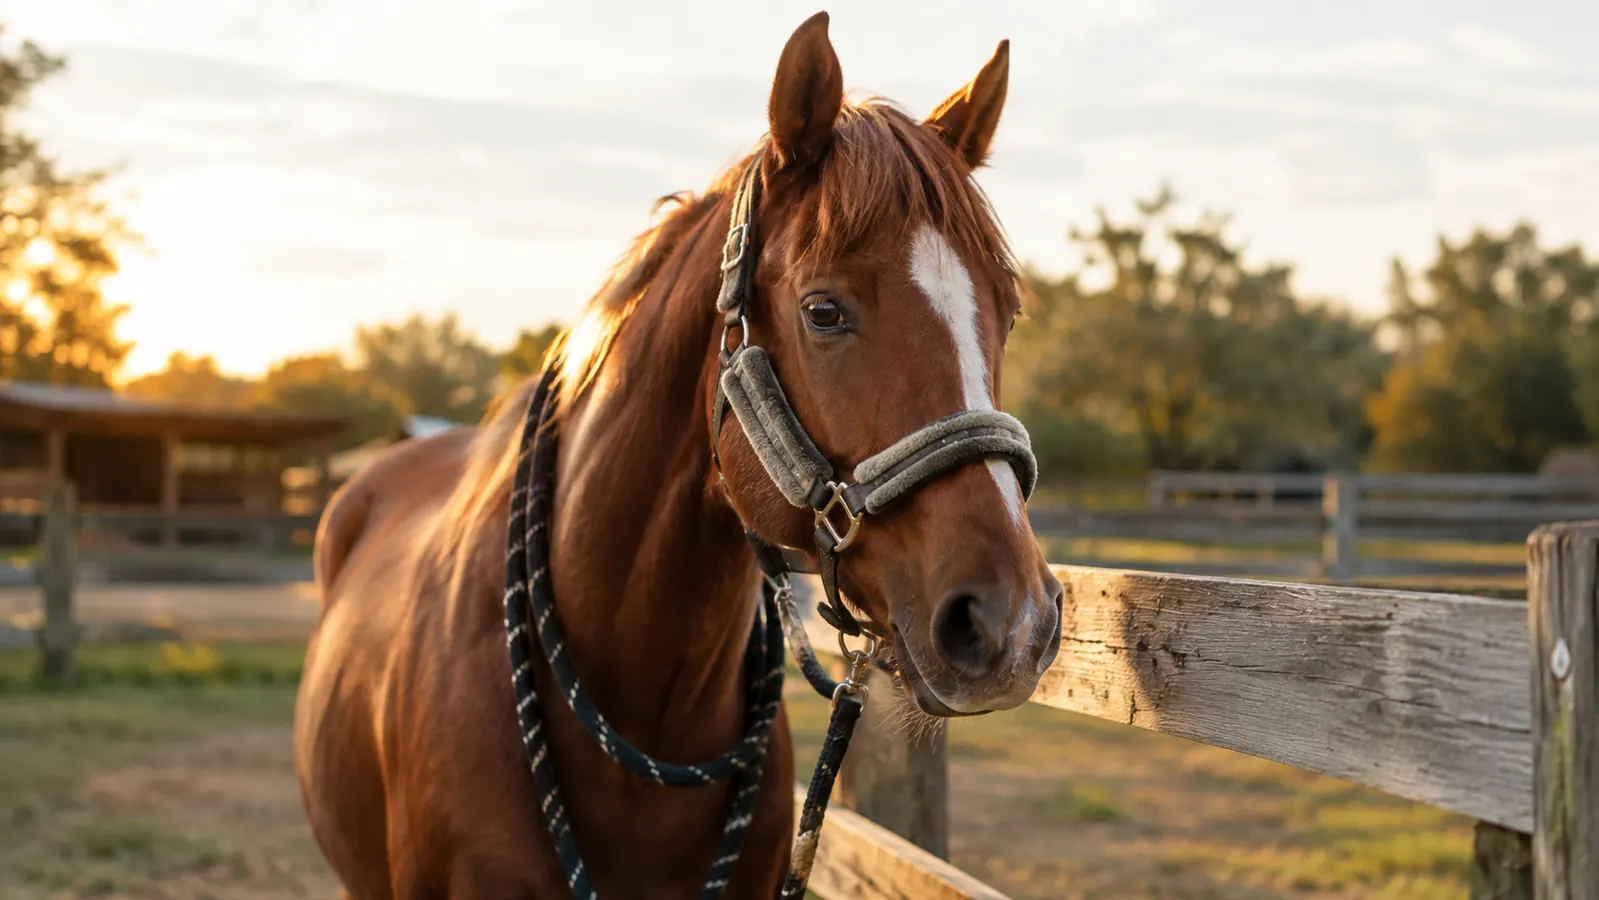
A halter that does not fit is worse than no halter at all. I have watched a loose noseband slip up and catch a horse on the cheekbone, and I have seen a crown piece set so tight it rubbed a raw spot behind the ears. Both horses were fine in the end, but neither needed the lesson. Fitting a padded halter like the Tough 1 Padded Horse Halter takes about five minutes once you know what to look for, and it is the difference between a halter that works for you and one that works against you.
I have been around horses my whole life, and I still check the fit on every halter I put on Biscuit, my 14-year-old sorrel quarter horse gelding. He is the one I run barrels on at local jackpots, and he gets handled every day. A halter that fits right should stay put when he shakes his head, should not pinch when I lead him, and should come off without a fight. Here is exactly how I fit one, step by step.
Start With a Halter That Fits the Job
The Tough 1 Padded Horse Halter with Antique Hardware and Lead Rope is the one I reach for on hauling days. It is padded where it matters, the hardware holds up, and the lead rope is already attached. Check today's price on Amazon and see if it is the right fit for your barn.
Amazon Check Today's Price on Amazon →Step 1: Stand the Horse Somewhere Safe and Quiet
Fitting a halter is not something to do in the middle of a busy aisle with horses walking past. I take Biscuit to a quiet spot in the barn or tie him to a solid post with a quick-release knot. If I am fitting a halter on a younger horse that is not used to being handled, I do it in a stall or a small pen where there is nowhere to go. Last spring I fitted a new halter on a three-year-old colt for a neighbor. He had never worn one, and I made the mistake of trying to fit him in the middle of a breezeway with feed being tossed in the next stall. He threw his head, stepped sideways, and the crown piece caught on his ear for a full minute before I got it sorted. We moved to a stall, let him sniff the halter, and had it on him in under two minutes. That day taught me that the location matters more than the halter. Pick your spot first, and the rest goes faster. I have also learned to check the halter for wear before I start. A cracked buckle can turn a five-minute job into a wreck, so I run a hand over every strap and work the buckle once before I put it on a horse.
You want the horse standing square and relaxed. If the horse is fidgety, the halter will sit crooked and you will adjust it wrong. Give the horse a minute to settle, run a hand down its neck, and only then start fitting. This is not wasted time. A calm horse makes the whole job easier.
Have your lead rope ready before you start. The Tough 1 halter comes with a lead rope attached, which is one of the reasons I like it for everyday use. If you are using a halter without a lead, clip one on before you begin so you are not fumbling for it halfway through.
Step 2: Set the Crown Piece Behind the Ears
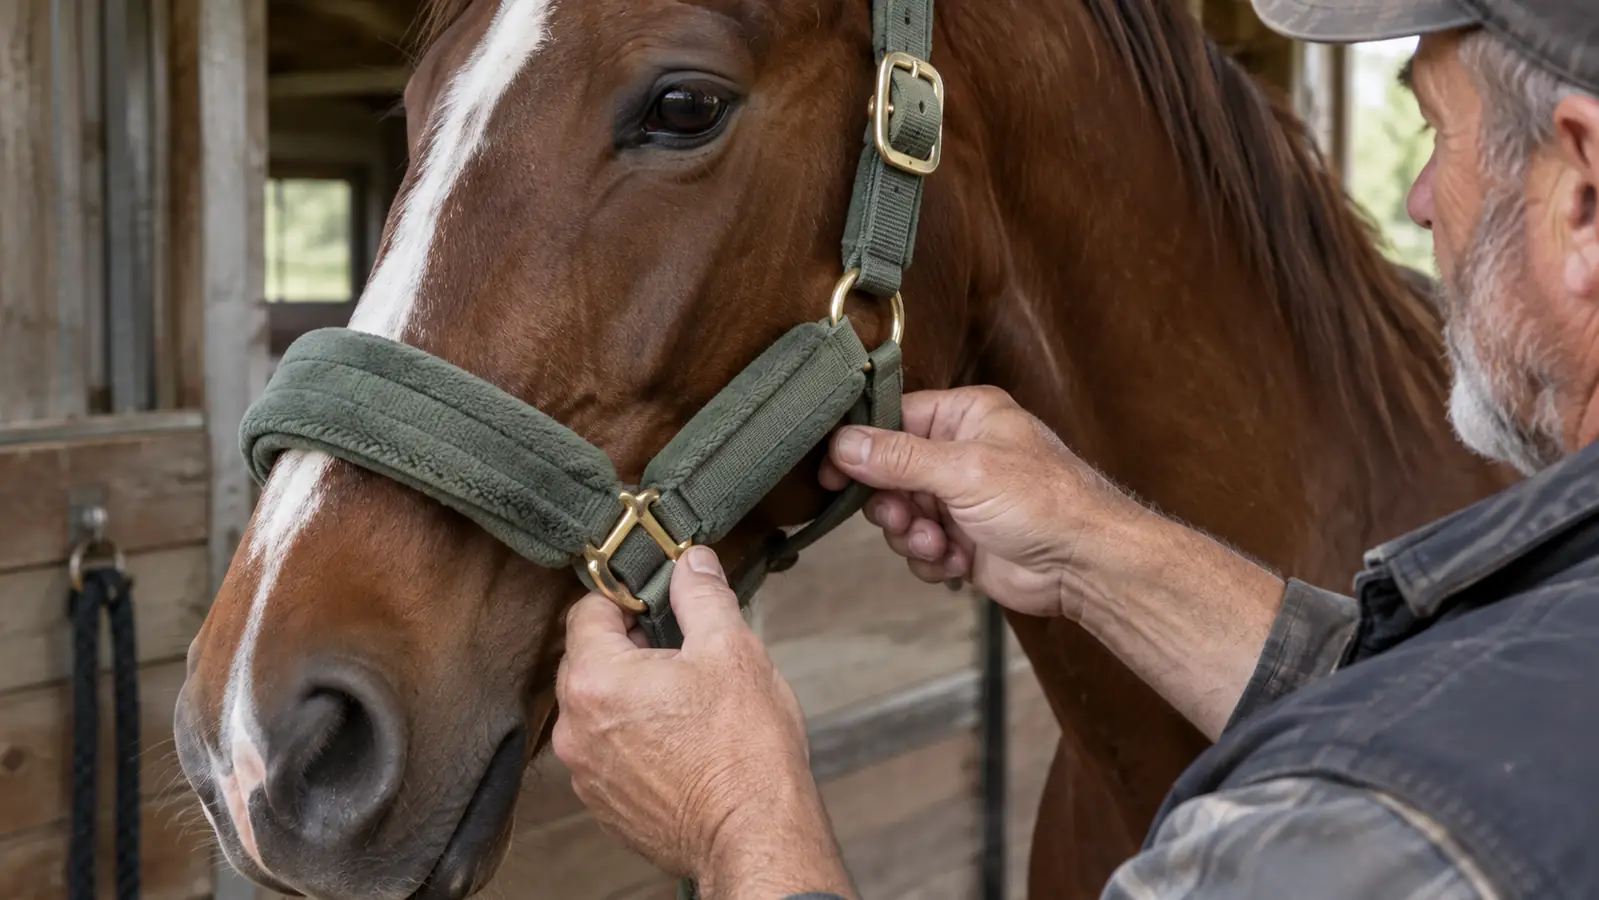
The crown piece is the part that goes over the top of the head, behind the ears. It should sit flat against the poll, not bunched up or twisted. When I put a halter on, I hold the crown in one hand and guide the noseband over the muzzle with the other, then lift the crown over the ears and let it settle into place. One thing I watch closely is how the crown sits on horses with different head shapes. Biscuit has a fairly wide poll, so I have to make sure the crown strap is not twisted where it comes off the top of his head. My other two horses have narrower heads, and the same halter sits differently on each of them. I keep the halter buckled to the same hole for Biscuit every time, and I still recheck it each morning. A halter can work its way loose overnight on a fence post, and I have found one hanging crooked more than once. The pad on the crown should lie flat against the poll, with the smooth side toward the horse. If you can see a fold in the padding, take the halter off and start again. That is the difference between a halter that stays put and one that rubs.
The crown should be snug enough that the halter does not slide around, but loose enough that you can slide two fingers flat between the strap and the horse's head. If you cannot get two fingers in, it is too tight. If the halter drops down the nose when the horse lowers its head, it is too loose.
On a padded halter like the Tough 1, the padding on the crown adds a little bulk, so give yourself an extra moment to make sure the padding is lying flat and not folded over. A folded pad will rub, and a rub behind the ears will make a horse hate wearing a halter. Take the extra ten seconds to smooth it out.
Step 3: Adjust the Noseband So It Sits Midway
The noseband is the part that goes across the bridge of the nose. It should sit about halfway between the horse's eyes and the bottom of the cheekbone, roughly two finger widths below the cheekbone. Too high and it presses on the facial nerves. Too low and it interferes with the horse's breathing and makes it hard to eat.
I check this by running my hand down the side of the horse's face. The noseband should feel like it is resting on the flat part of the nose, not digging into the bone. On Biscuit, I keep the noseband just loose enough that I can fit two fingers between it and his nose. That gives him room to chew and yawn without the halter binding.
The padded noseband on the Tough 1 halter is wider than a plain nylon strap, which spreads the pressure out over a bigger area. That matters on a horse that pulls back or on a long haul. The padding does not mean you can leave it loose, though. The fit rules are the same, padded or not.
Step 4: Buckle the Throat Latch With Room to Spare
The throat latch is the strap that goes under the jaw, behind the cheekpiece. Its job is to keep the halter from coming off over the ears, not to squeeze the horse's throat. I buckle it so I can fit a closed fist between the strap and the jaw. That sounds loose, but it is about right. One morning last fall I loaded Biscuit for a jackpot over in Mineral Wells and noticed the throat latch looked snug before we left. I loosened it one hole and did not think about it again. On the way home he was fine, but a friend who hauled with me had a horse that pawed and fussed the whole trip because her throat latch was set too tight. We stopped and loosened it at a rest area, and the horse settled right down. That ride is the reason I check the throat latch before every haul, not just when I am fitting a new halter. I have also learned that a throat latch can feel fine at the barn and still be too snug after the horse drops its head to drink on a hot day. Looser is safer than tighter, especially on a long haul.
When the horse lowers its head to graze or drink, the throat latch needs room to move. If it is too tight, the horse will feel choked and may panic. I have seen horses paw at a halter and shake their heads hard when the throat latch was set too snug. Give it room and the horse will forget the halter is there.
The antique-style hardware on the Tough 1 halter buckles cleanly and stays put, which I appreciate when I am in a hurry. A buckle that slips is a hazard, because the halter can loosen on its own. I check the throat latch buckle every time I put the halter on, and I replace any halter with a worn buckle.
Step 5: Test the Fit by Leading and Shaking
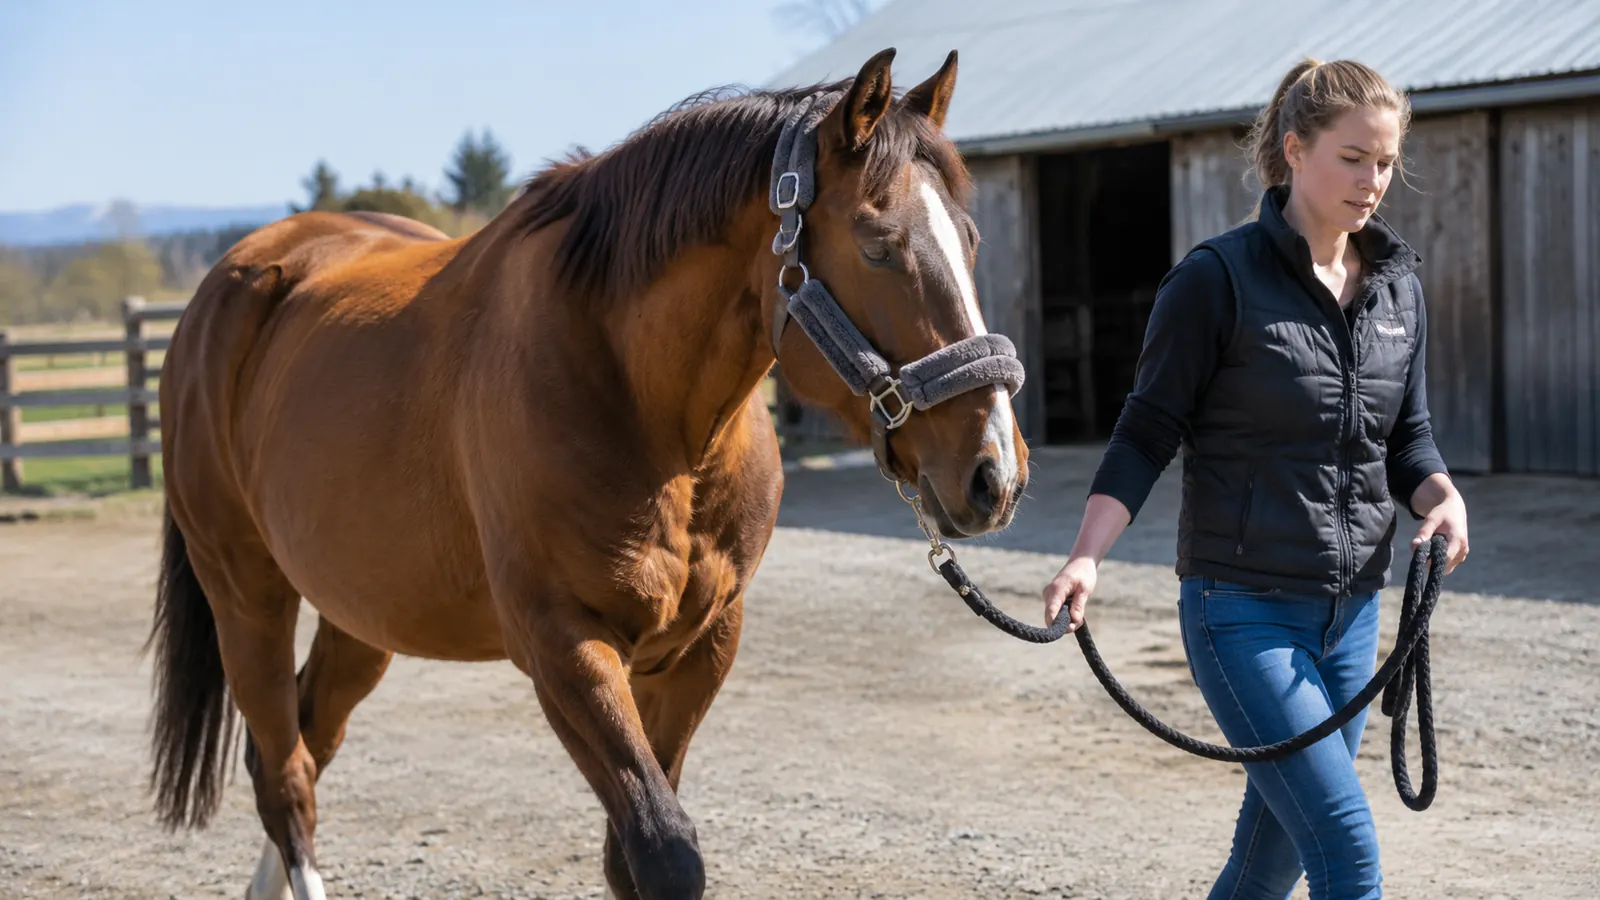
Once everything is buckled, I lead the horse a few steps and watch how the halter behaves. The noseband should stay in place. The crown should not slide forward. The throat latch should not flop. Then I let the horse shake its head, which every horse will do the first time you put a halter on. I remember the first time I used a padded halter on Biscuit after years of plain nylon. He had a rub behind his left ear from a halter that did not fit, and the pad on the crown made the difference. But the test is not how it looks hanging in the tack room. It is how the horse behaves in it. I lead Biscuit out to the pasture, let him drop his head to graze for a minute, then pick his head up and walk him back. If the halter stays put through that, it is right. I do the same test with every halter I own, and I do it again after the horse has worn it for an hour, because leather and padding settle and a fit that felt fine at first can change. If anything has shifted, I go back to the strap that moved and start over.
If the halter shifts more than a finger width in any direction, I go back and tighten or loosen the offending strap. A properly fitted halter should survive a head shake, a scratch on the leg, and a quick trot down the aisle without needing adjustment. If it does not, something is off.
I also check the fit after the horse has worn the halter for an hour. Leather and padding settle, and a halter that felt fine at first can feel different after the horse has moved around. The Tough 1 padded halter has held its shape well in my barn, but I still do the two-finger check every time I take it off.
What Else Helps
A correctly fitted halter is only part of the picture. I keep a second halter in the trailer for hauling, because a horse that wears a halter for hours on the road needs a break from the pressure points. I also make sure the halter is clean and dry before I put it away, especially the padding, because dirt and sweat will break down the material over time.
If you are hauling, take the halter off or loosen it at stops. If you are turning a horse out, use a breakaway halter instead of a padded one, because a padded halter is not designed to snap under pressure. And if you are fitting a halter on a foal or a young horse, check the fit every few weeks, because they grow fast.
A halter that fits right should stay put when the horse shakes its head, should not pinch when you lead, and should come off without a fight. That is the whole test.
Fit It Once, Trust It All Season
The Tough 1 Padded Horse Halter with Antique Hardware and Lead Rope is built for the way a ranch horse actually lives: hauling, grazing, saddling, and the ride home. If you want a halter that fits the job, check today's price on Amazon.
Amazon Check Today's Price on Amazon →