
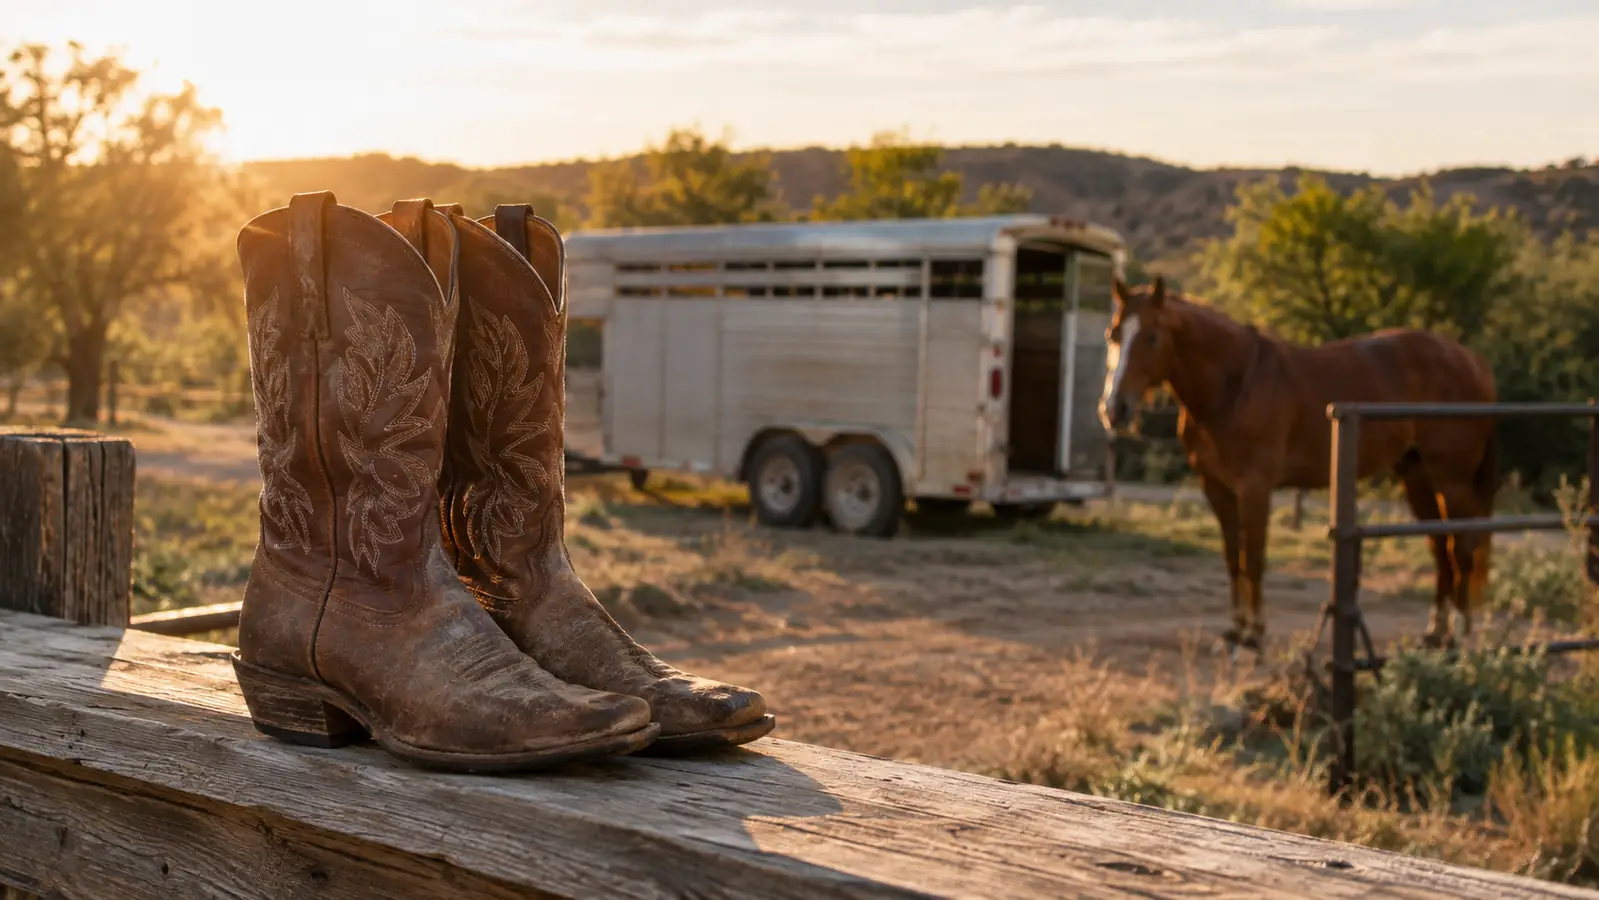
There is nothing like the first weekend of rodeo season to remind you that new boots are not your friend yet. You pull them on, they look sharp, and by the second go-round you are counting the minutes until you can get them off. I have been around rodeos my whole life, and I have watched more than one person spend a perfectly good weekend miserable because they thought breaking in boots meant just wearing them until it stopped hurting. It does not have to go that way. I learned that lesson myself the summer I bought my first pair of decent boots. I wore them straight to a jackpot outside Weatherford, no break-in at all. By the third run I was standing on the outside edges of my feet, and by the drive home I had a blister on each heel. They took the better part of two weeks to heal. The boots were fine. My feet were not. With a little planning, you can get a new pair of Ariat cowboy boots ready for a long weekend without dreading the drive home.
The plan below is the one I use on my own boots and the one I recommend to the barrel racers and ropers who ask. It takes about a week if you start early, and it works for the Ariat Men's Sport Western Wide Square Toe Cowboy Boot just as well as it works for any other quality leather boot. The goal is simple: the boot should hold your foot the way a good saddle holds your horse, snug where it needs to be and comfortable everywhere else.
Start with a boot that is worth the work
Breaking in a cheap boot is a waste of your time. The Ariat Men's Sport Western Wide Square Toe Cowboy Boot is built from full-grain leather with a cushioned insole and a Duratread outsole, so the break-in period actually leads somewhere. Check today's price on Amazon and see if it is the right fit for your weekend.
Amazon Check Today's Price on Amazon →Step 1: Wear them around the house for short stretches
The biggest mistake people make is going straight from the box to a full day on their feet. Your feet need time to get used to the boot, and the leather needs time to warm up and start molding to your foot. Start with an hour at a time, twice a day, just around the house. Wear the socks you plan to wear at the rodeo, not thin dress socks. The extra thickness changes the fit, and you want the boot to break in around the sock it will actually be worn with.
Walk on carpet first, then move to hard floors. Carpet gives the leather a chance to flex without putting pressure on the same spots over and over. Hard floors will show you where the boot is tight, and that is useful information. When I broke in my last pair, I kept a kitchen timer by the back door and did two hour-long sessions a day, morning and evening. The first day the leather fought me at the instep. By the fourth day I could bend the shaft with one hand, and the boot felt like it had already been mine for a month. That is the pace to aim for: slow enough that no single spot gets hammered, steady enough that you are making progress every day. If the boot pinches at the instep or rubs at the heel, you want to know that on a Tuesday afternoon, not at 9 a.m. on the first day of the rodeo.
Pay attention to where the boot feels stiff. A new boot should feel snug, not painful. If it feels like it is cutting off circulation, it is too small, and no amount of breaking in will fix that. If it feels loose at the heel, it is too big, and that will cause blisters no matter how much you wear them. The right boot starts out feeling like a firm handshake.
Step 2: Condition the leather before you push it
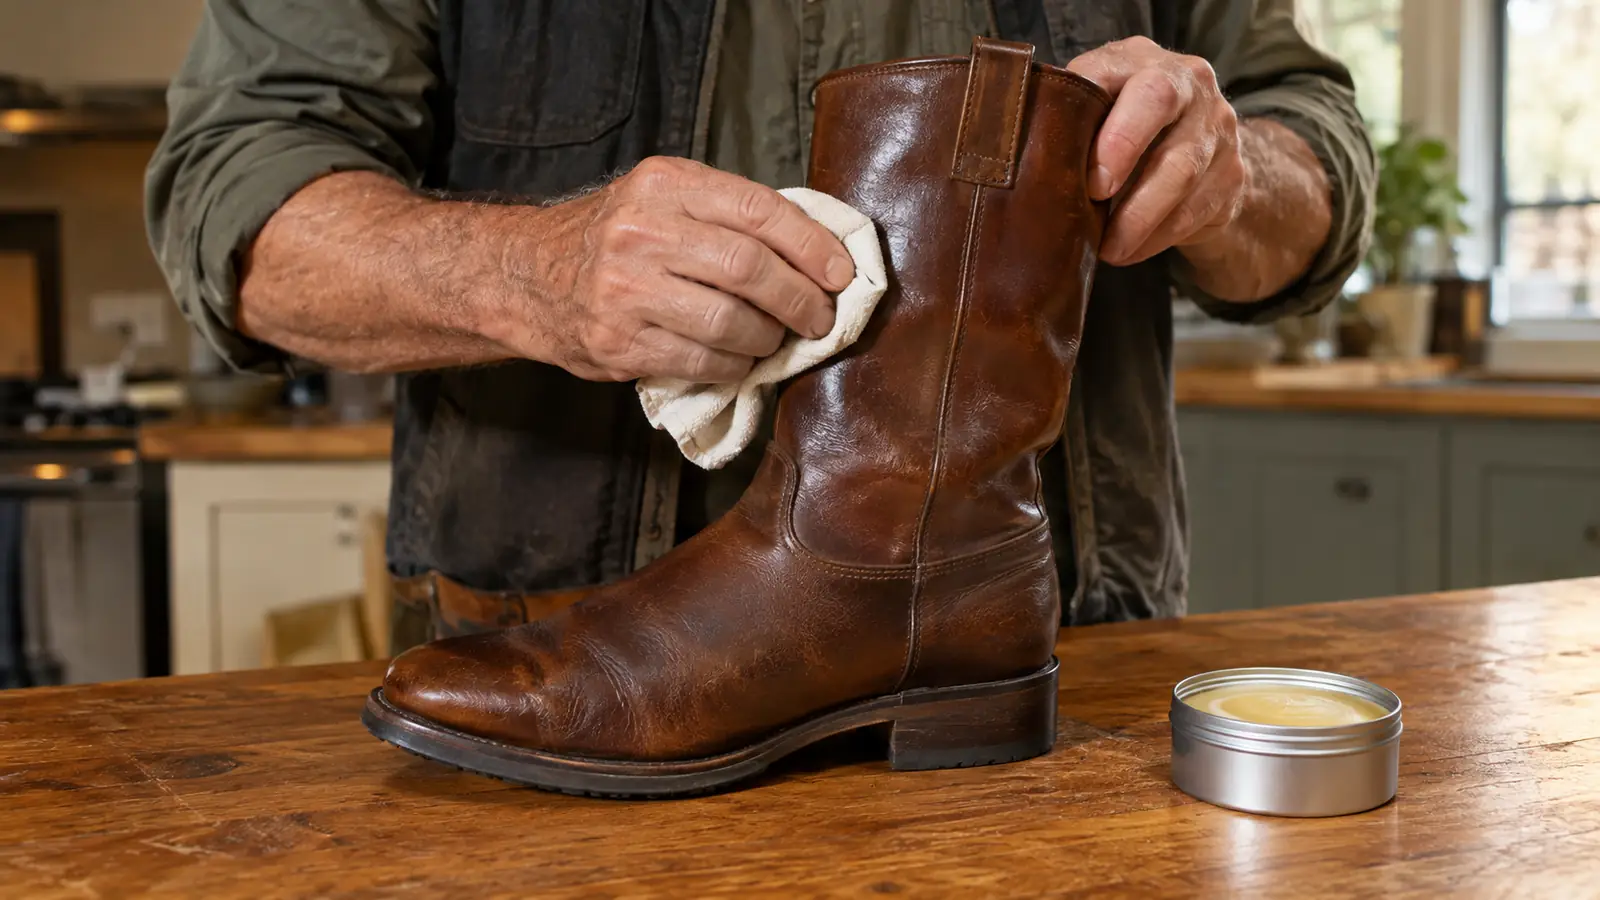
Leather that is dry and stiff will fight you the whole way. A good leather conditioner softens the fibers and makes the break-in process faster and more comfortable. Use a conditioner made for leather, not saddle soap, and not oil. I learned that the hard way with a pair I bought years ago. I skipped the conditioner entirely, figured the boots would soften up on their own, and spent two months fighting leather that never did give. The right conditioner, applied once before the break-in, makes a difference you can feel the next morning. Saddle soap cleans, but it does not soften. Oil can darken the leather and make it too soft, which ruins the structure of the boot.
Apply the conditioner with a soft cloth, working it into the leather in small circles. Pay extra attention to the shaft and the instep, the two areas that do the most flexing. Let the conditioner soak in overnight. In the morning, the leather will feel noticeably more supple, and the boot will be ready for the next step.
Do not overdo it. One good conditioning is enough before the break-in period. You can condition again later, after the boots have been worn a few times. Too much conditioner too early can make the leather stretch more than you want, and then you end up with a boot that is loose where it should be snug.
Step 3: Use the two-sock method for the tight spots
If you have a spot that is really digging in, the two-sock method is the oldest trick in the book. Put on a thin sock, then a thicker sock over it, then the boot. The extra layer stretches the leather just a little more in the tight spots. Wear the boots around the house for an hour or two, then take them off and let your feet recover.
This works best on the instep and the ball of the foot, where the leather is thickest and the boot is most likely to feel tight. I have a high instep, so this is the step that saves me every time. On my last pair, the left boot stayed snug across the top no matter how much I wore it. Two sessions with the double sock and the leather gave just enough that I stopped noticing the boot when I stepped down off the trailer. The key is to stop before it hurts. If the double sock leaves red marks, you have gone too far, and you need to back off for a day or two before you try again. It does not work well on the heel. If the heel is rubbing, the problem is usually the fit, not the stiffness, and the two-sock method will just make it worse by adding pressure to a spot that is already getting friction.
Repeat the two-sock method every other day for about a week. You are not trying to stretch the boot dramatically. You are just encouraging the leather to give a little in the places where your foot needs it. Go slow, and the boot will end up shaped to your foot instead of shaped to some generic last.
Step 4: Wear them for short outdoor sessions
Once the boots feel comfortable around the house, it is time to take them outside. Start with short sessions: feed the horses, check the fence line, walk the dogs. Fifteen to twenty minutes at a time is plenty. The first morning the boots felt stiff when I climbed into the truck. By the third morning they were flexing with my foot instead of against it. The goal is to get the boots used to real movement, not just walking on flat floors. Uneven ground, gravel, and grass all flex the boot in different ways, and that is what actually breaks in the sole and the shank.
This is also the stage where you will notice how the boot performs on the surfaces you actually work on. The Ariat Sport Western boot has a Duratread outsole that grips well on gravel and dirt, and the cushioned insole keeps your foot from feeling every rock. But you will not know how it feels on your own ground until you wear it there. A boot that feels great on carpet can feel completely different in the arena.
If you have a pair of boots you already trust, alternate them. Wear the new boots for the morning chores, then switch back to the old ones for the afternoon. This gives your feet a break and lets the new boots build up wear gradually instead of all at once. By the end of the week, the new boots should feel like they have been yours for a month.
Step 5: Do a full dress rehearsal the day before
The day before the rodeo, put on the boots with the socks you plan to wear and wear them for a full afternoon. Do not just sit in them. Walk the pens, load the trailer, saddle your horse, do everything you would do on a normal rodeo day. The day before a jackpot last spring, I ran the whole routine in a new pair: loaded Biscuit into the two-horse bumper-pull, drove the twenty minutes to the grounds, saddled up, walked the pattern twice, and loaded him back up. By the time I got home, the boots had been through everything they would see the next day, and I knew they were ready. If something had rubbed wrong, I would have found out at home with my old boots hanging in the tack room. This is the dress rehearsal. If there is a problem, you want to find it now, while you still have time to fix it or fall back on your old boots.
Pay attention to how the boots feel after a few hours of real work. A boot that is going to cause blisters will usually announce itself by the third or fourth hour. If you feel a hot spot, take the boots off, let your feet cool down, and put a bandage on the spot before you put the boots back on. A little prevention now saves you a lot of pain tomorrow.
The dress rehearsal is also the time to check the fit with your riding gear. If you wear spurs, make sure the boot shaft sits where it should and the spur straps fit properly. If you wear chaps, make sure the boot does not bind at the calf. These are the details that only show up when you are fully dressed and ready to go, and they are much easier to fix at home than at the rodeo.
What Else Helps
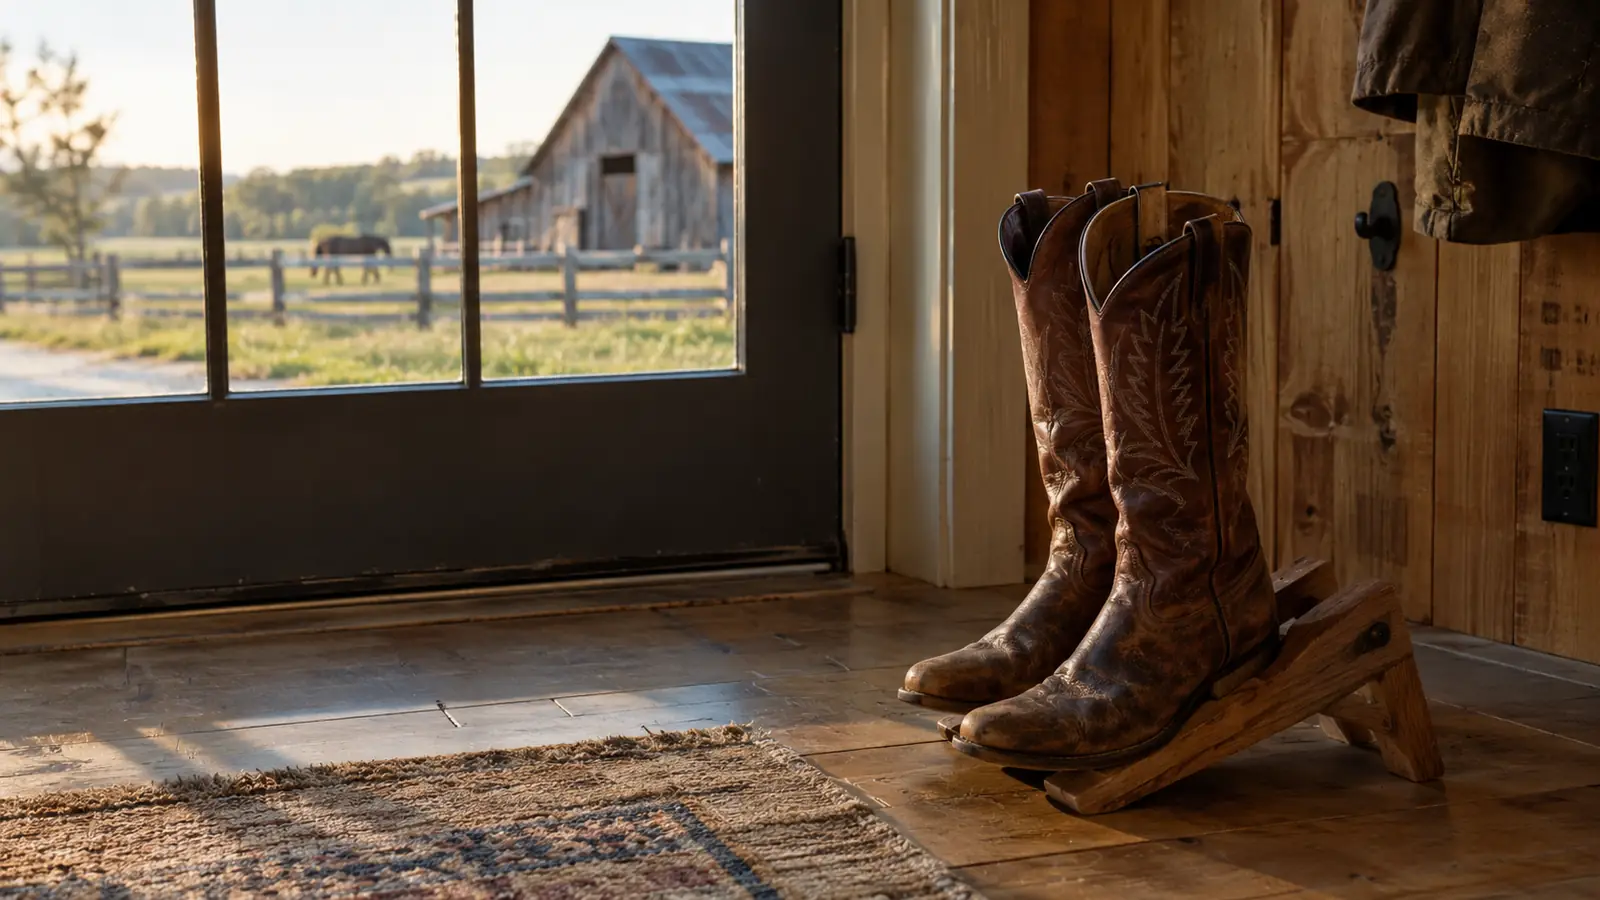
A few extra things can make the difference between a good break-in and a great one. First, keep a pair of boot socks in your truck so you always have the right socks on hand. Second, use a boot jack to take the boots off instead of pulling at the heel. It is easier on the boot and easier on your back. Third, if you are breaking in boots for a kid, do not rush it. Kids' feet are still growing, and a boot that is too tight can cause real problems. Let them wear the boots for short periods over a couple of weeks, and check the fit often.
One more thing: store your boots with cedar boot trees when you are not wearing them. The cedar helps the leather keep its shape and absorbs moisture from the inside. It also keeps the boots from developing that sour smell that comes from wearing them all day in the summer. A little care between rodeos will make the boots last longer and stay comfortable.
A boot that is going to cause blisters will usually announce itself by the third or fourth hour. A little prevention now saves you a lot of pain tomorrow.
Give yourself a full week before the rodeo
The best time to start breaking in a new pair of Ariat boots is now, not the night before the first go-round. If you have been putting it off, check today's price on Amazon and get the process started. Your feet will thank you on the drive home.
Amazon Check Today's Price on Amazon →